A post tension slab carries its loads with steel tendons: high-strength cables that run through the concrete, are pulled tight after the pour, and are locked off at the slab edges. Designed and built correctly, it controls deflection, resists cracking and spans farther with less concrete than a conventionally reinforced slab. On most projects it does exactly that for decades. The trouble starts when it does not, because a damaged post tension slab gives very few signals, and the ones it gives are easy to misread.
In field experience working on PT slab projects internationally, the most expensive repairs we have encountered were not caused by catastrophic failures. They were caused by warning signs that were misread, dismissed as cosmetic, or left to worsen through construction season after construction season. Early identification changes everything. It is the difference between a $2,000 anchor pocket repair and a $40,000 tendon replacement combined with slab removal.
This guide documents the five warning signs we see most often, explains what each one means structurally, sets out the diagnostic procedure, and gives a budget-level repair cost breakdown for the Texas market. It is written for general contractors, drafters, project engineers and construction managers, and for owners who need to understand what they are looking at before they accept a quote.
In this guide
- The hidden risk inside a post tension slab
- Warning sign 1: cracking beyond what shrinkage explains
- Warning sign 2: exposed tendon corrosion or edge blowouts
- Warning sign 3: anchor pocket damage and missing grout
- Warning sign 4: excessive deflection or floor movement
- Warning sign 5: water infiltration and rust staining
- Post tension slab repair cost breakdown for Texas
- Interactive repair cost estimator
- What to do first, and who to call
- The standards that govern evaluation and repair
Related Resource
For the design principles, advantages and expected service life behind everything in this article, see our Ultimate Guide to Post-Tension Slabs: Advantages, Design, and Longevity.
The Hidden Risk Inside a Post Tension Slab
A post tension slab works because the tendons squeeze the concrete. That squeeze, called precompression, is what keeps the slab from cracking under load. The required level depends on the slab type. ACI 318-19 requires a minimum average effective prestress of 125 psi for two-way elevated slabs. PT slab-on-ground foundations designed by the PTI method need at least 50 psi after losses, and STRUCTURE magazine reports a typical range of 60 to 100 psi.
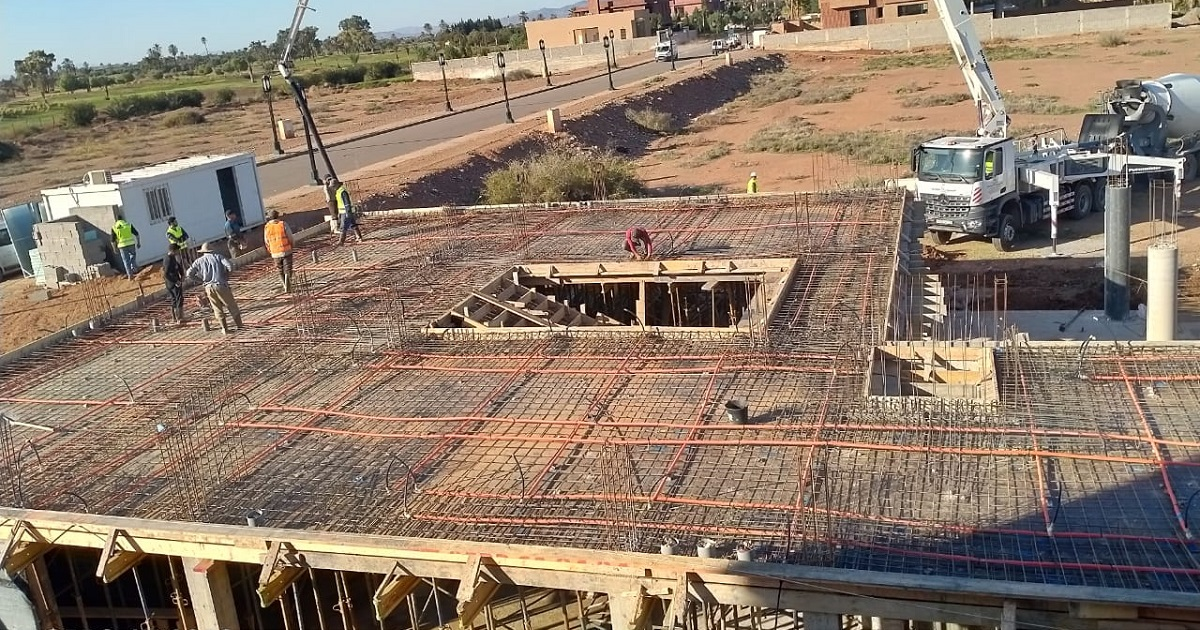
Most PT slabs in Texas homes and light commercial buildings use unbonded tendons. Each strand slides freely inside a greased plastic sheath, and its entire force hangs on two anchors, one at each end. When a strand breaks or an anchor fails, the force is lost over most or all of the tendon length, because nothing bonds the steel to the concrete in between.
That is why the damage is quiet. There is no alarm when a strand snaps inside its sheathing. Nothing visibly signals an anchor corroding behind a pocket patch, and nothing warns you as a blowout forms below a parking deck soffit (the underside of an elevated slab). By the time the symptoms show, the structural consequences are already in motion.
Warning Sign 1: Cracking Beyond What Shrinkage Explains
What the Cracking Is Telling You
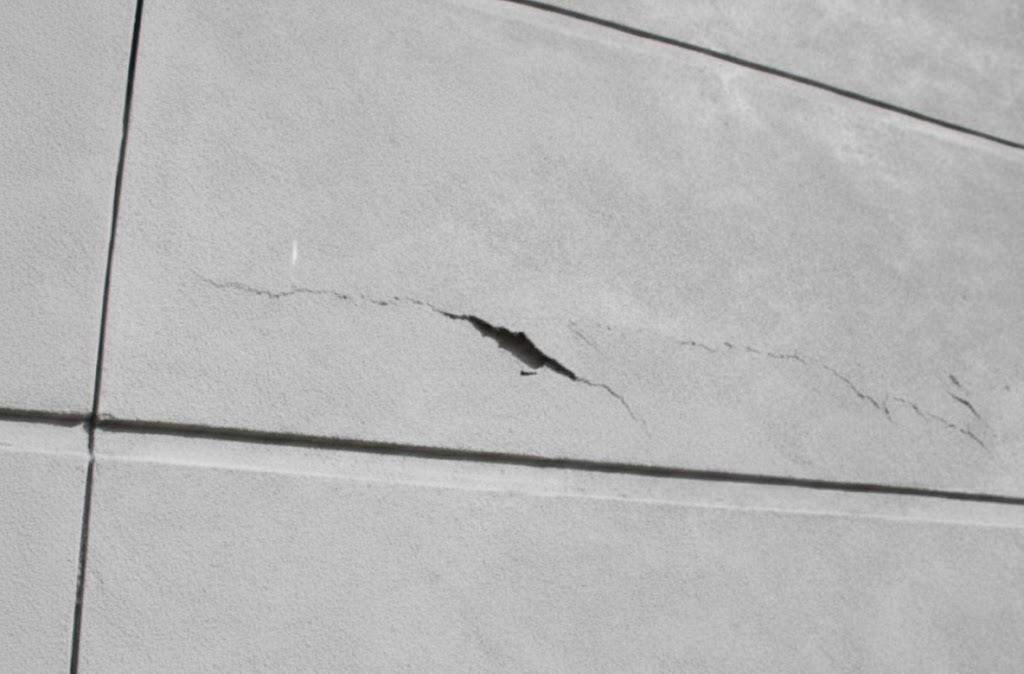
Not every crack in a post-tensioned slab is a structural problem. Plastic shrinkage cracks and restrained shrinkage cracks are common during early curing, and short hairline cracks at re-entrant corners are expected. The cracks that matter have a pattern: they run perpendicular to the tendon direction near mid-span, they widen over time under normal use, or they appear together with one of the other four signs below.
When we see that pattern, it points to one of three problems. The first is insufficient tendon force, from under-stressing or strand fracture. The second is inadequate tendon coverage for the tributary width. The third is creep and shrinkage more severe than the balanced load assumption allowed for.
What We Look For On Site
During a recent inspection on a residential PT foundation in the Frisco, TX area, we documented transverse cracks at mid-span of a 22 ft bay that exceeded 0.016 in. in width under normal service conditions. The tendon layout drawings showed 10 tendons at 48 in. on center, but the as-built stressing logs only recorded eight completed strands. Two tendons had not been stressed to the specified jacking force of 33 kip. The result was a localized zone with reduced precompression, insufficient to suppress the tensile demands under the applied dead and live loads.
That 33 kip figure is worth one line of arithmetic. A standard 0.5 in. strand to ASTM A416 has an area of 0.153 in.² and a strength of 270 ksi, so it breaks at about 41.3 kip. ACI 318 caps the jacking force at 80 percent of that, which is 33 kip. Two unstressed tendons out of ten means one fifth of the design force in that strip never arrived.
We evaluate slab cracking on site in three steps. We measure crack widths with a calibrated crack comparator, and we photograph and map the crack network on a plan overlay. Then we cross-reference the as-built stressing records to confirm whether full tendon forces were achieved.
What Worked On Site / What Did Not
- What worked: Cross-referencing stressing logs with the tendon layout drawing immediately identified the unstressed tendons without requiring any invasive testing.
- What did not work: Visual crack assessment alone, without load history or stressing documentation, led an earlier inspection to classify the cracks as cosmetic. That classification delayed the repair by approximately eight months.
Warning Sign 2: Exposed Tendon Corrosion or Blowouts at Slab Edges
Why an Edge Blowout Is Urgent
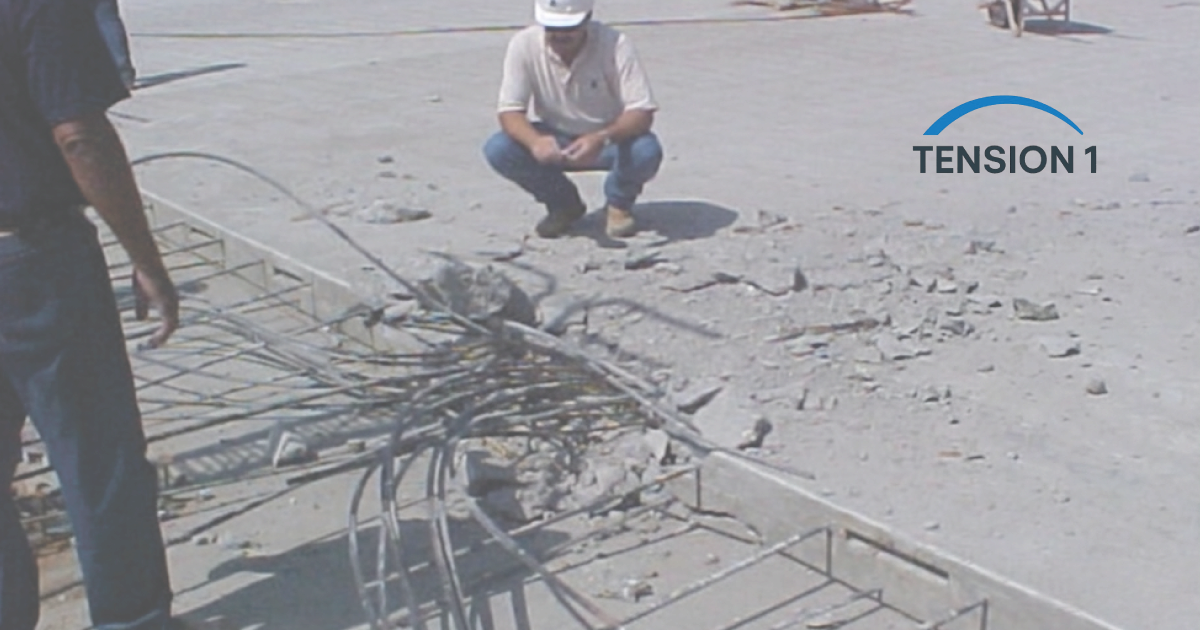
Post-tension cable snap repair is one of the most urgent categories of PT intervention. A blowout happens when a strand fractures under its locked-in force. The sudden release of energy can split the concrete at the anchor, punch through an edge finish, or drive the broken strand out of the slab. It is violent, it is often audible, and it leaves the surrounding zone suddenly short of precompression.
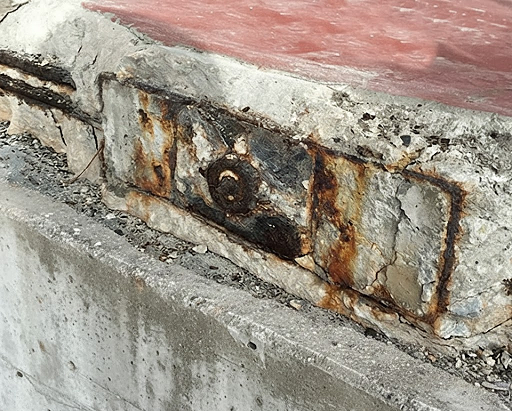
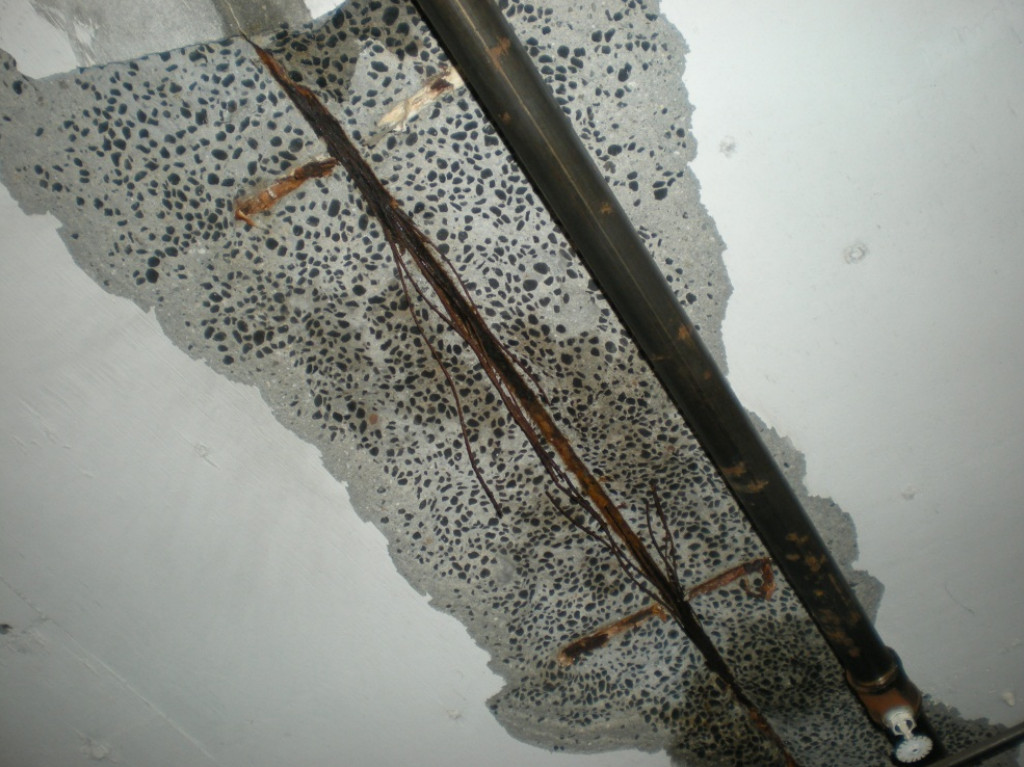
We have observed blowout damage at both the stressing (live) end and the fixed (dead) end of unbonded monostrand systems. In both cases, the root cause traced back to one of three conditions: inadequate concrete cover over the anchor head, compromised sheathing or grease fill that allowed moisture intrusion over years, or strand tails left uncut and un-grouted after stressing, which acted as corrosion pathways.
Corrosion Indicators Short of a Full Blowout
Before a blowout, the slab usually gives earlier clues. These include rust staining at a pocket, hollow-sounding concrete near the slab edge, and pitted or separated wires once a pocket is opened. Investigations in South Florida, reported in STRUCTURE magazine, frequently found tendon encapsulation deficient once pockets were opened, with grease caps that were poorly installed or missing altogether.
- Rust staining at a pocket: schedule an investigation by a PT-qualified engineer. Do not wait for the next symptom.
- Hollow sound on a hammer tap near an anchor zone: plan an invasive assessment of that anchor.
- Visible wire separation or fraying: restrict access around and below the area and call a PT specialist immediately. A strand in that state can release without warning.
Warning Sign 3: Anchor Pocket Damage and Missing Grout
Why Anchor Integrity Is Non-Negotiable
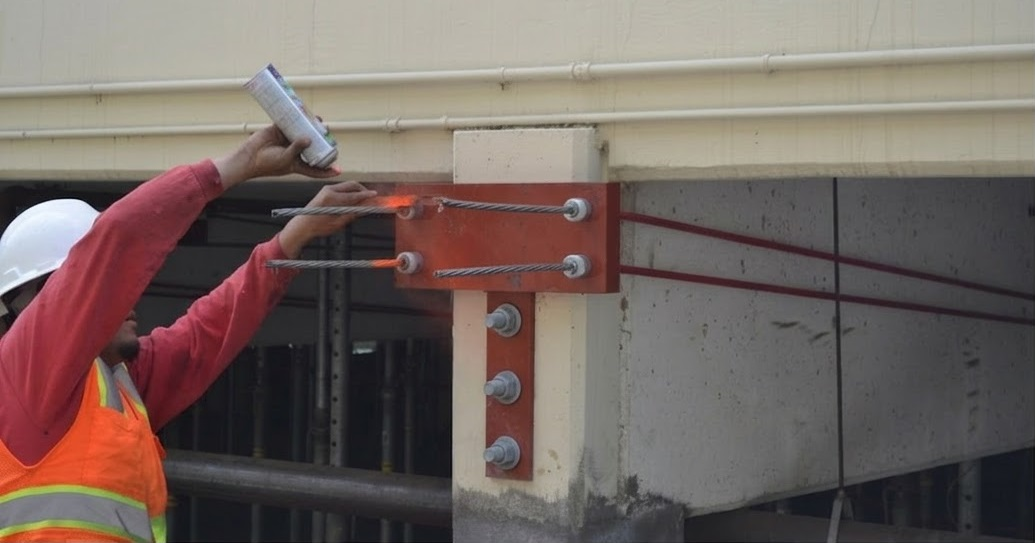
The anchor is where the entire tendon force passes into the concrete. In the unbonded monostrand systems common in Texas residential and light commercial construction, it consists of a bearing plate with a cavity and two wedges that grip the strand. After stressing, the strand tail is cut and the pocket (the recess at the slab edge) is filled with grout. If any part of that assembly is compromised, the tendon force is partially or fully lost.
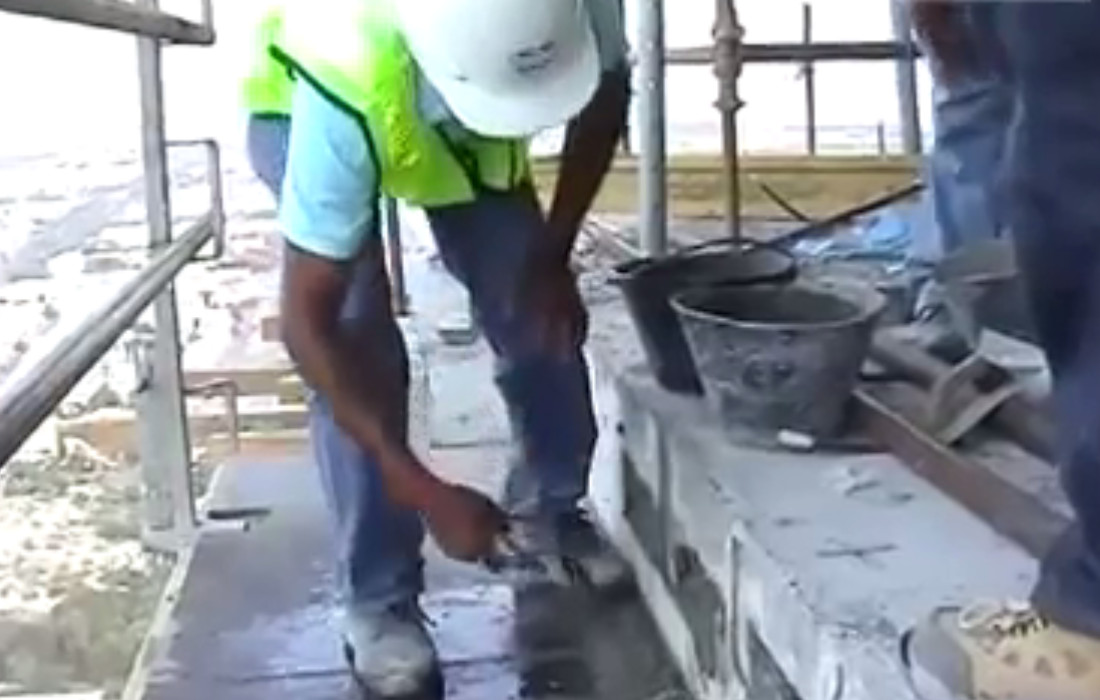
Pocket problems start when the pocket is never grouted, or when the grout shrinks and cracks and lets moisture reach the plate. We have documented anchor assemblies on Texas PT foundations where original construction crews left pockets ungrouted for extended periods during framing, and by the time the slab reached occupancy, the exposed assemblies had already begun corroding.
On-Site Evaluation Protocol
We evaluate anchor zones in three steps. We probe pocket fills with a pick hammer to find loose or hollow grout, inspect the bearing plate for corrosion, and photograph the strand tail condition. Where grout loss is confirmed, the typical repair is to open the pocket, remove corrosion products, protect the anchor, restore the encapsulation cap where the system is encapsulated, and re-grout with a non-shrink grout as the project specification requires. PTI DC80.4-18, Guide Specification for Unbonded Post-Tensioning Repair, is the reference document for scoping this work.
The repair is straightforward when caught early. It becomes far more complex once corrosion reaches the wedges or the bearing face.
Field Note
On a multi-family PT podium deck inspection in Dallas, we found 14 out of 220 anchor pockets that had never been grouted. The project had passed its standard inspection. Grout pocket closure is often not formally verified on standard punch list reviews.
Warning Sign 4: Excessive Deflection or Floor Movement
Reading Deflection as a Structural Signal
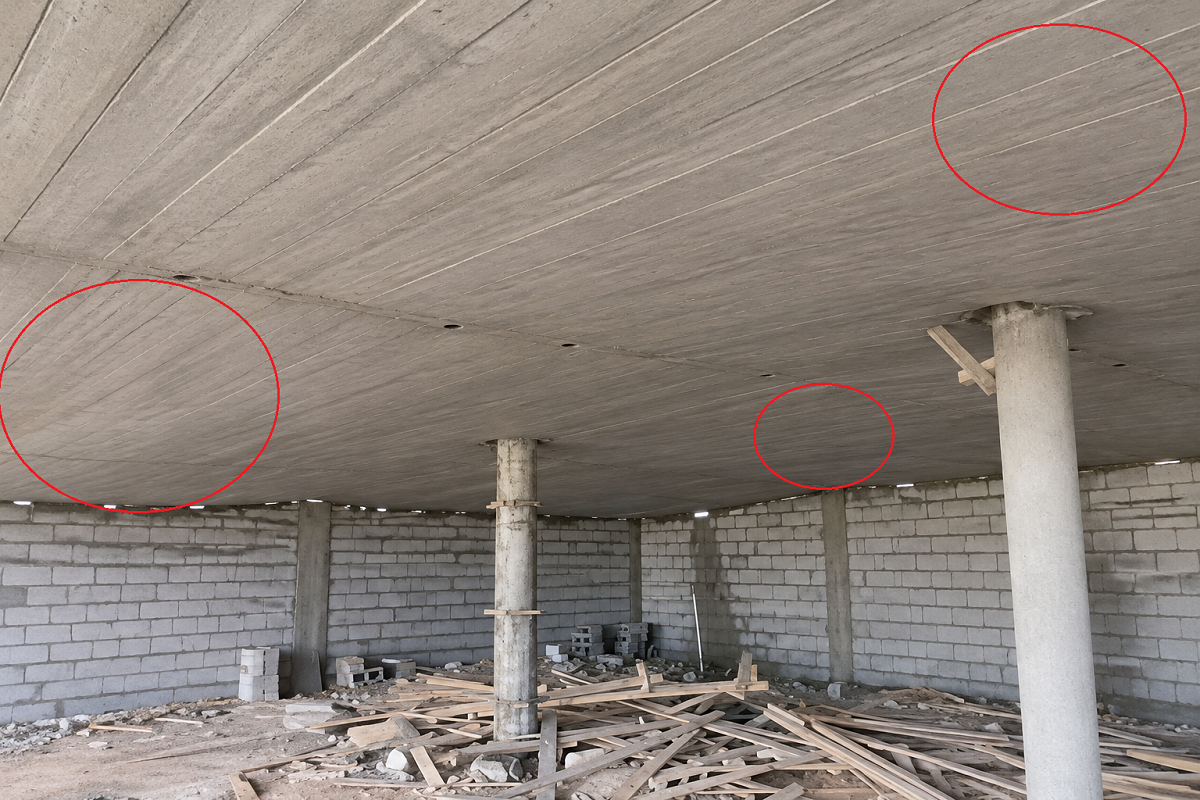
ACI 318-19, Table 24.2.2, limits deflection to L/480 for floors that support nonstructural elements likely to be damaged by large deflections. The limit applies to the deflection that occurs after those elements are installed. For a 24 ft span, that is 0.6 in. When a slab that has been in service for years measures well beyond that, the deflection is no longer just a serviceability problem. It means the structural system is not performing as designed.
In a post tension slab, excess deflection usually traces back to one of three causes. Prestress losses may exceed the friction and wobble assumptions. Creep and shrinkage may be more severe than modeled. Or strands may have fractured, dropping the effective prestress below the balanced load.
The stressing records are the first place to look. ACI 318 requires the cause to be found when measured elongation and the gauge force disagree by more than 7 percent on post-tensioned work. A record that was never reconciled is a lead worth following.
Movement on Post Tension Slab Foundations
On residential PT foundations, the more common movement comes from the soil, not the slab. Expansive clay swells when wet and shrinks when dry, lifting the slab at the edges or at the center. According to the Virginia Department of Energy, losses from expansive and compressive soils have been estimated at seven billion dollars a year in the U.S. The same source cites an ASCE estimate that one quarter of all homes have suffered damage from these soils.
The Dallas-Fort Worth area sits on some of the most active clays in the state. That is why PTI DC10.5-19 designs these foundations specifically for edge lift and center lift. When we see sloping floors, sticking doors and windows, or gaps opening at the base of interior walls, we run a floor levelness survey with a digital level to measure the movement rather than guess at it. PTI DC10.8-18, Guide for Performance Evaluation of Slab-on-Ground Foundations, sets out how to read that survey.
Some unevenness is normal in any slab-on-ground. A survey separates normal unevenness from active movement. Post tension cable repair cost escalates quickly once movement has fractured tendons at re-entrant corners or at places where the slab was cut after construction.
Warning Sign 5: Water Infiltration and Rust Staining
Moisture and Post-Tension Systems
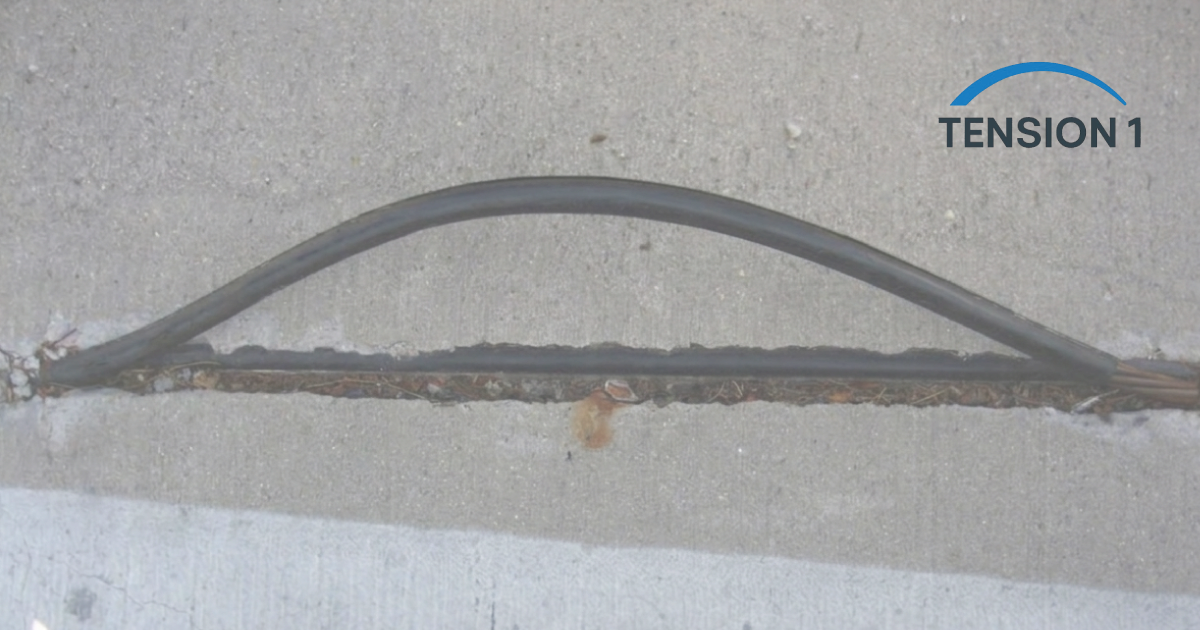
Water is the primary long-term threat to unbonded PT systems. In bonded construction, grout inside the duct seals the strand from the environment. In unbonded monostrand construction, the protection is only the grease and the polyethylene sheathing. When that sheathing is torn during installation, punctured by adjacent reinforcing, or degraded at exposed tails, moisture can track along the strand to the anchor.
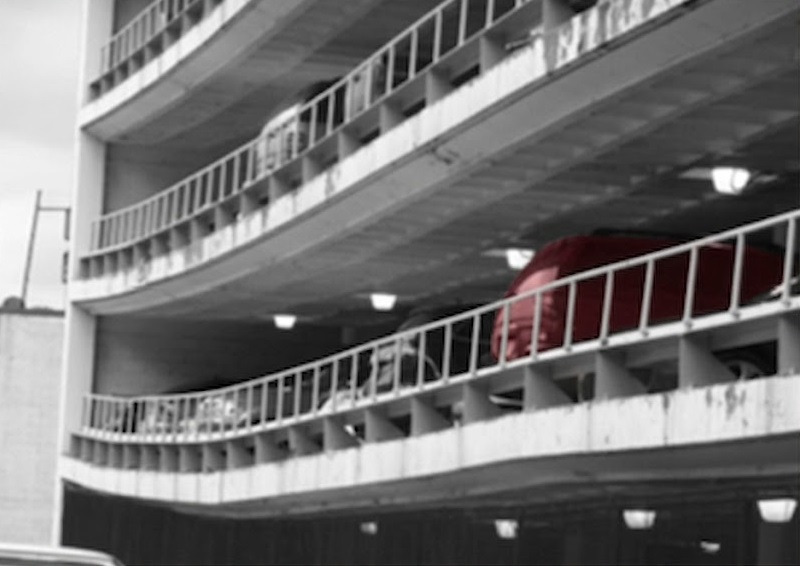
On elevated PT slabs, parking structures and podium decks, water reaching the tendon zone shows up in three ways: efflorescence, rust staining that follows the tendon line, or active dripping at anchor locations. Each one means moisture has reached the tendons. The critical question is whether the sheathing is breached along the tendon length.
Diagnostic Steps Before Committing to Repair
We start by mapping the staining against the tendon layout drawing. We then sound the concrete for delamination, the method standardized in ASTM D4580. We also take concrete samples along the tendon path for chloride testing to ASTM C1152 or ASTM C1218, since chlorides are what drive strand corrosion. A phenolphthalein test is useful too, but it measures carbonation depth, not chlorides, and the two should not be confused in a report.
If the diagnosis confirms a sheathing breach, the repair scope typically includes strand extraction, sheathing inspection, strand replacement where pitting is too deep, and re-threading through new sheathing. PTI DC80.3/ICRI 320.6, Guide for Evaluation and Repair of Unbonded Post-Tensioned Concrete Structures (2024 edition), covers the full evaluation and repair process.
We have found in practice that an infiltration-related blowout repair in Texas averages two to three times the cost of a standard anchor pocket repair, because soffit access often requires temporary shoring of adjacent bays during the demolition and re-stressing sequence.
Post Tension Slab Repair Cost Breakdown: What to Expect in Texas
The following cost ranges reflect experience with PT slab repair scopes in the Dallas-Fort Worth area and broader Texas market as of 2024. Use them for budget-level planning only. Final costs depend on site access, structural complexity, the number of tendons involved, and whether engineering documentation and as-built drawings are available.
| Repair Type | Scope | Estimated Cost Range (Texas, 2024) |
|---|---|---|
| Localized Tendon Re-stressing | 1 to 3 tendons, accessible end anchor | $800 to $2,500 per tendon |
| Tendon Replacement (Unbonded) | Full tendon extraction and re-thread | $1,500 to $4,000 per tendon |
| Anchor Head & Pocket Repair | Grout replacement, cap restoration | $300 to $700 per pocket |
| Slab Soffit Crack Injection | Epoxy or polyurethane injection | $25 to $60 per linear foot |
| Corrosion-Damaged Zone Removal | Saw-cut, demolition, reinforce, re-pour | $4,000 to $15,000+ per zone |
Source: TensionOne project records, Texas market, 2024. These ranges exclude engineering fees, building permits, and non-destructive testing such as ground-penetrating radar or X-ray tendon location. They are not quotes.
Five factors move a repair price more than anything else:
- Access: an anchor at an open slab edge costs a fraction of one behind finished brick, a pool deck or an occupied unit.
- Documentation: without tendon layout drawings and stressing records, the investigation has to rebuild that information first.
- Number of tendons: mobilization is a fixed cost, so the price per tendon drops as the count rises.
- Shoring: elevated slabs often need temporary shoring while tendons are detensioned.
- Time: corrosion keeps progressing, so a deferred repair rarely stays the same size.
Estimate a Budget Range for Your Repair Scope
The estimator below applies the unit ranges from the table to your own quantities, then adjusts for access and for the records available. It gives a budget range for planning a conversation with an engineer and a repair contractor. It is not a quote.
[tool:pt-slab-repair-cost-estimator]
For a per-area view, see the average cost per square foot for post-tension slab repair. To build a budget by damage type and region, use our post-tension slab repair cost calculator. Contractors and engineering teams who need repair layouts, tendon profiles or calculation documentation prepared for the engineer of record can use our post-tension slab design and diagnostics support.
What to Do First: The Right Order of Calls
Owners usually lose the most money in the first week, by calling the wrong trade first. The order below keeps the diagnosis ahead of the repair.
- Do not cut, drill, core or saw the slab. Cutting a stressed tendon releases its full force at once and is a serious safety hazard. If a blowout has already happened, keep people away from the slab edge and the area below.
- Gather the documents. Ask for the tendon layout drawings and the stressing records. They usually sit with the builder, the PT supplier or the permit file at the city.
- Have the slab evaluated by a licensed professional engineer with PT experience. A general home inspection can flag a symptom, but it cannot attribute it to a tendon.
- Locate the tendons before any opening. Ground-penetrating radar or X-ray scanning comes before any exploratory cut. PTI DC80.2-10 covers openings and penetrations in existing unbonded slabs.
- Hire a specialized PT repair contractor to carry out the repair the engineer has scoped.
If a tendon has already been cut, our emergency protocol for a cut post-tension tendon covers the first hours. The step-by-step guide to fixing a severed tendon covers the repair techniques. For long-term monitoring, see whether post-tension slabs require regular professional inspection and our guide to tendon corrosion inspection and preservation.
The Standards That Govern PT Slab Evaluation and Repair
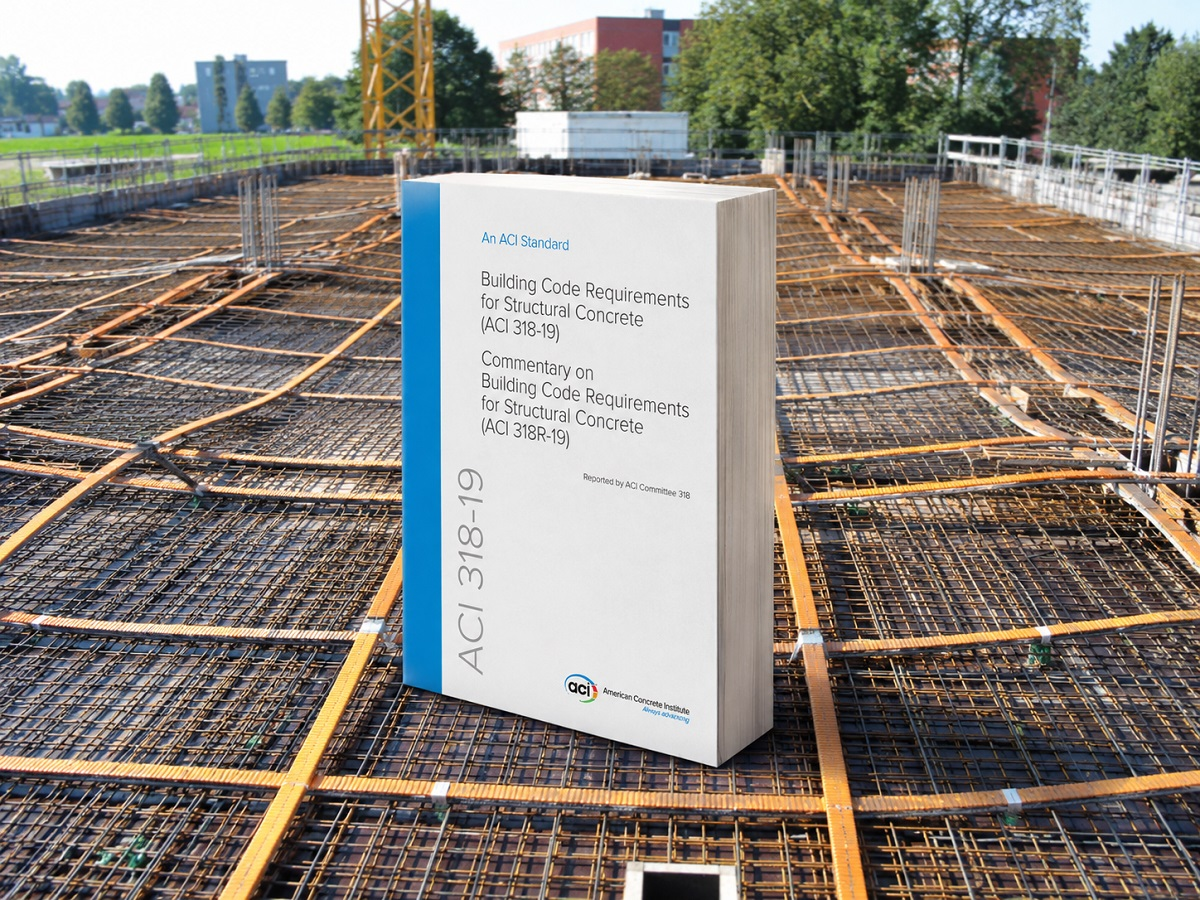
ACI 318-19 is the edition referenced by the 2021 International Building Code. ACI CODE-318-25 is the current edition. Which one applies to a given building depends on the code adopted by the local jurisdiction when it was permitted.
For repair work, PTI DC80.3/ICRI 320.6 (2024 edition) and PTI DC80.4-18 are the core references. PTI DC10.5-19 and PTI DC10.8-18 cover slab-on-ground foundations. Load combinations follow ASCE 7-22. The governing code edition and the project documents always take precedence over this article. How we select sources and update this content is described in our editorial policy.
Get a Second Opinion Before You Commit to a Repair
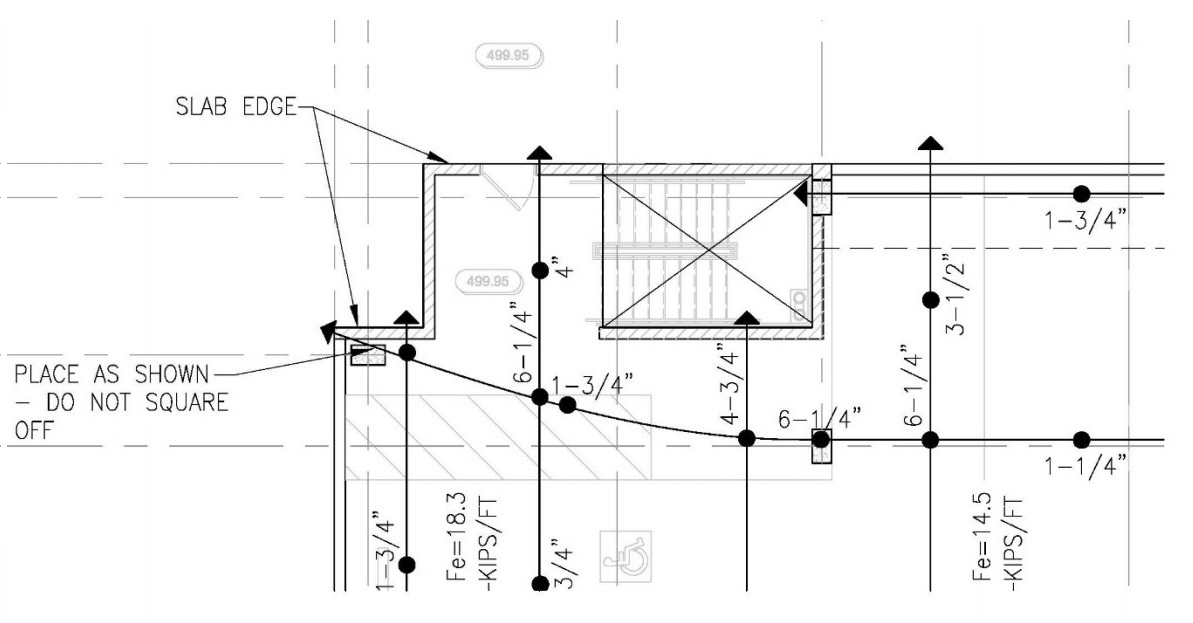
If your slab shows one or more of these warning signs, the next step is not another general inspection. It is a review by someone who works specifically with post-tensioned concrete.
Through our expert technical consulting, we review your photos, drawings, stressing records and repair quotes in a virtual meeting. We explain what the evidence points to and which questions to put to the contractor before you sign. This is independent technical support, not a sealed assessment. The evaluation and approval of the repair remain with the licensed engineer on your project.
References and Standards
- ACI 318-19, Building Code Requirements for Structural Concrete, American Concrete Institute. Current edition: ACI CODE-318-25.
- PTI DC80.3/ICRI 320.6 (2024), Guide for Evaluation and Repair of Unbonded Post-Tensioned Concrete Structures, PTI and ICRI.
- PTI DC80.4-18, Guide Specification for Unbonded Post-Tensioning Repair, Post-Tensioning Institute.
- PTI DC80.2-10, Guide for Creating Openings and Penetrations in Existing Slabs with Unbonded Post-Tensioning, Post-Tensioning Institute.
- PTI DC10.5-19, Standard Requirements for Design and Analysis of Shallow Post-Tensioned Concrete Foundations on Expansive and Stable Soils, Post-Tensioning Institute.
- PTI DC10.8-18, Guide for Performance Evaluation of Slab-on-Ground Foundations, Post-Tensioning Institute.
- ASCE 7-22, Minimum Design Loads and Associated Criteria for Buildings and Other Structures.
- ASTM A416, ASTM C1152, ASTM C1218 and ASTM D4580, ASTM International.
Disclaimer: The cost ranges, observations and field notes in this article come from TensionOne's direct project experience and are provided for informational purposes only. This content is not a PE-stamped engineering assessment or a structural guarantee, and it is not a diagnosis of any specific slab. All repair decisions should be made with a licensed professional engineer in the State of Texas.