When a crew prepares to core, drill or saw a post tension slab for a plumbing sleeve, a conduit or an anchor, the slab looks like any other concrete. That is the danger. The tendons inside, steel strands each holding roughly 26 kip of force after losses, are invisible from the surface.
Cut one and that force releases at once. The strand can whip or burst out of the slab edge and injure anyone nearby, and the post tension slab loses part of its designed compression.
On residential foundation slabs and commercial floors alike, a tendon cut is rarely a matter of recklessness. It typically comes from the absence of a systematic pre-drilling protocol. This checklist sets one out, step by step.
Is This a Post Tension Slab? Check Before Anything Else
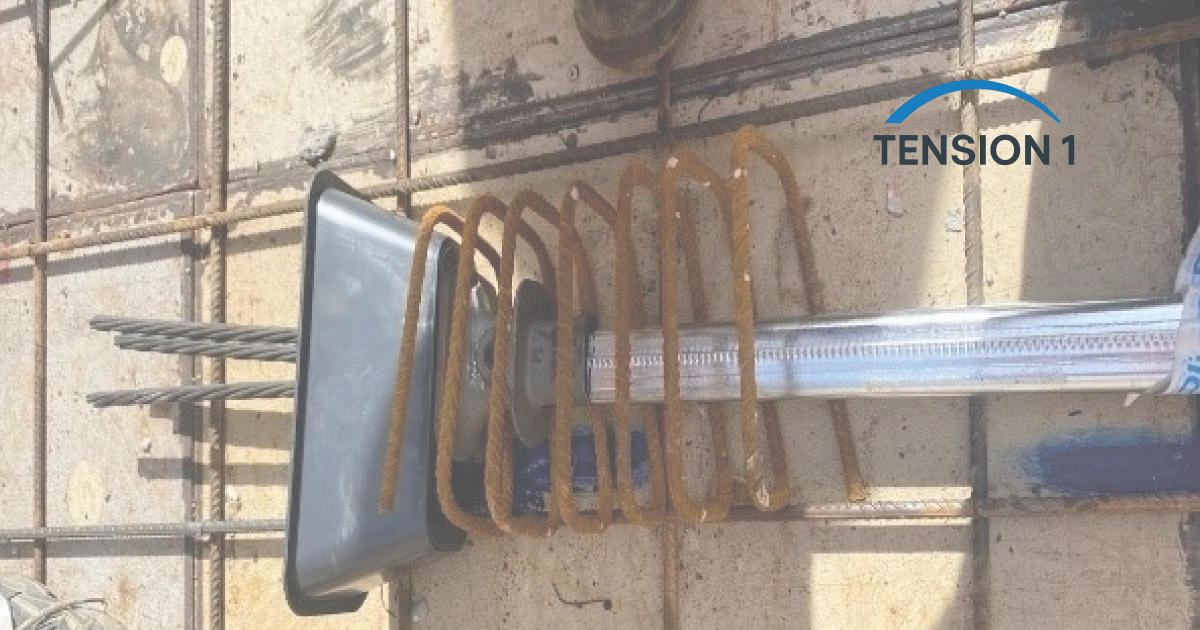
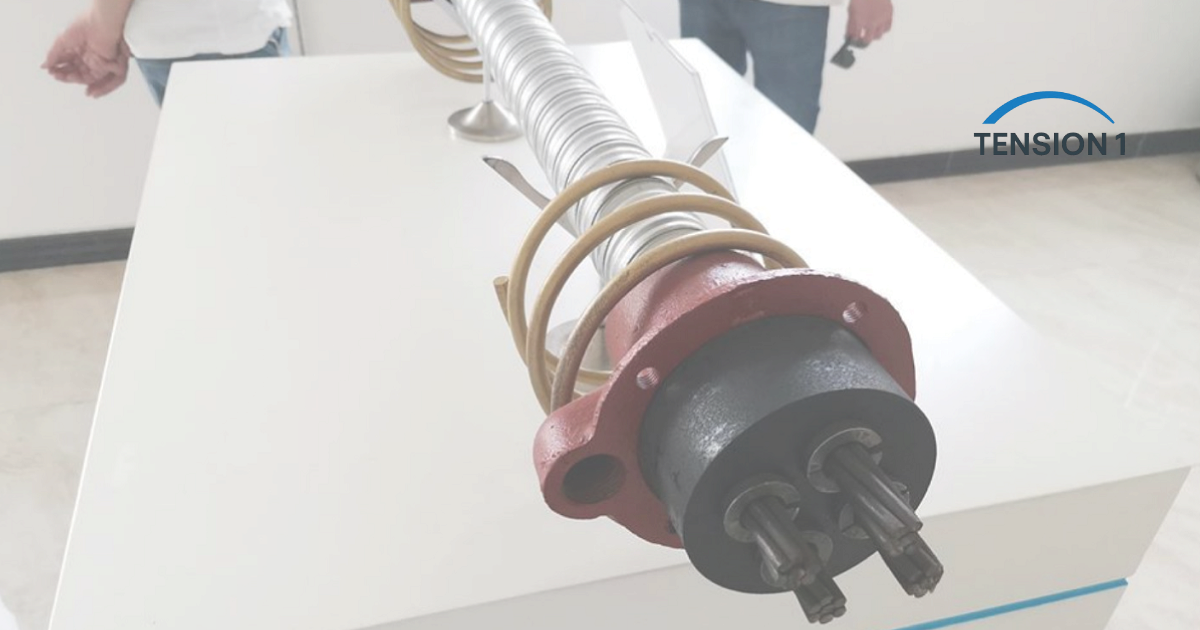
Owners often do not know. Look at the slab edge for a line of small patched pockets, the anchor recesses where tendons end, spaced along the perimeter. Rust stains at the edge of a foundation can also mark strand locations, as STRUCTURE magazine's guide to existing PT foundations (2010) notes. The drawings, the builder or the original permit set settle the question. If in doubt, treat it as a post tension slab.
Homeowners should not drill or cut a post tension slab themselves. Hire a concrete scanning contractor to locate the tendons and a qualified engineer to approve the penetration. The rest of this checklist is written for the crews doing that work.
Step 1: Understand How Post Tension Slab Tendons Are Routed
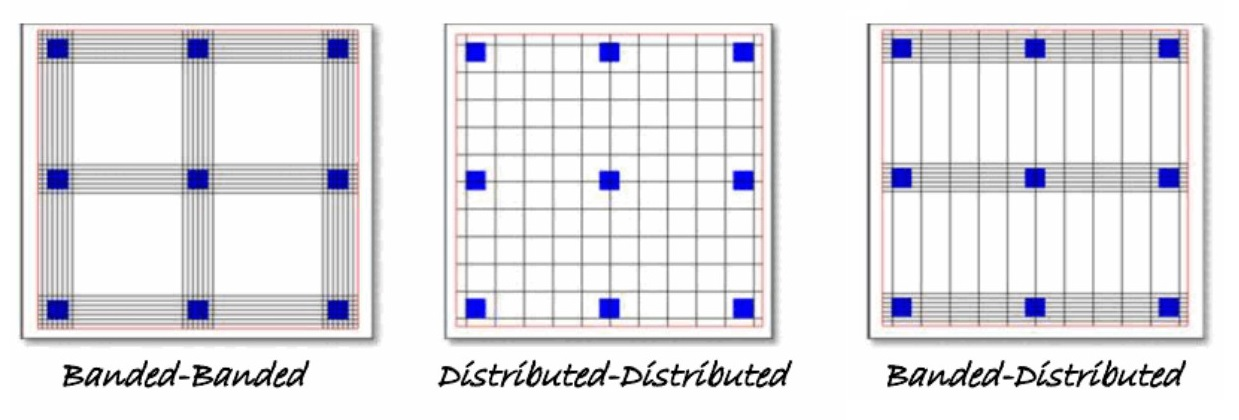
Banded and distributed layouts
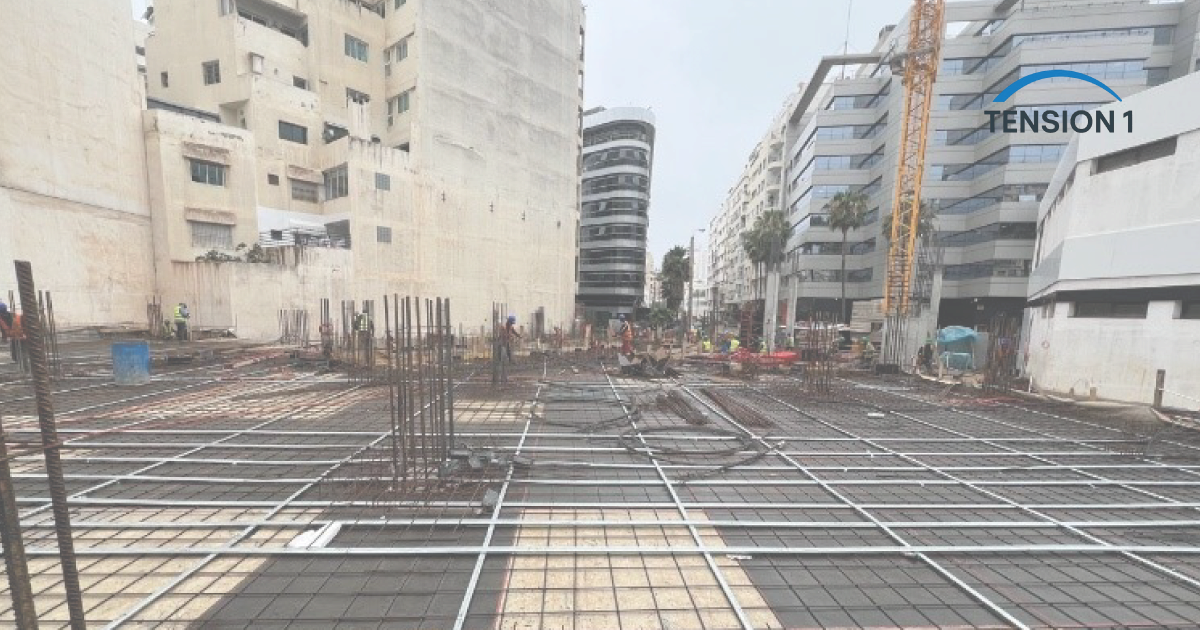
In an elevated two-way post tension slab, the common arrangement groups tendons in a band along the column lines in one direction and spreads them evenly in the other. A Portland Cement Association design article (2005) describes this banded layout as common practice, with bands of up to five strands laid flat and distributed tendons at a maximum spacing of eight times the slab thickness or 5 ft, under ACI 318.
The column lines carry the densest tendons. We treat any drill location within 12 in of a column centerline as off-limits without confirmed scan clearance.
Profile and depth
In an elevated post tension slab, the tendon is draped: high over the supports, low at midspan. A hole that misses it at one point can hit it a few feet away. In slab-on-ground foundations, tendons are usually closer to mid-depth. Depth matters as much as plan position.
Step 2: Locate the Tendons in the Post Tension Slab
Drawings are the starting point, not the answer; tendons move in the field around openings and corners. We always follow drawing review with a physical scan of the post tension slab before any core or saw cut.
| Method | What it shows | Limits |
|---|---|---|
| Ground-penetrating radar (GPR) | Tendons, rebar and conduit, with approximate depth | Needs a trained operator; dense rebar can mask tendons |
| Shop and as-built drawings | Band locations, spacing, anchor positions | Only as good as the field record |
| Edge pockets and anchors | Where tendons end at the slab edge | Says nothing about the path between edges |
| Electromagnetic cover meter | Shallow metal | Cannot tell a tendon from rebar; limited depth |
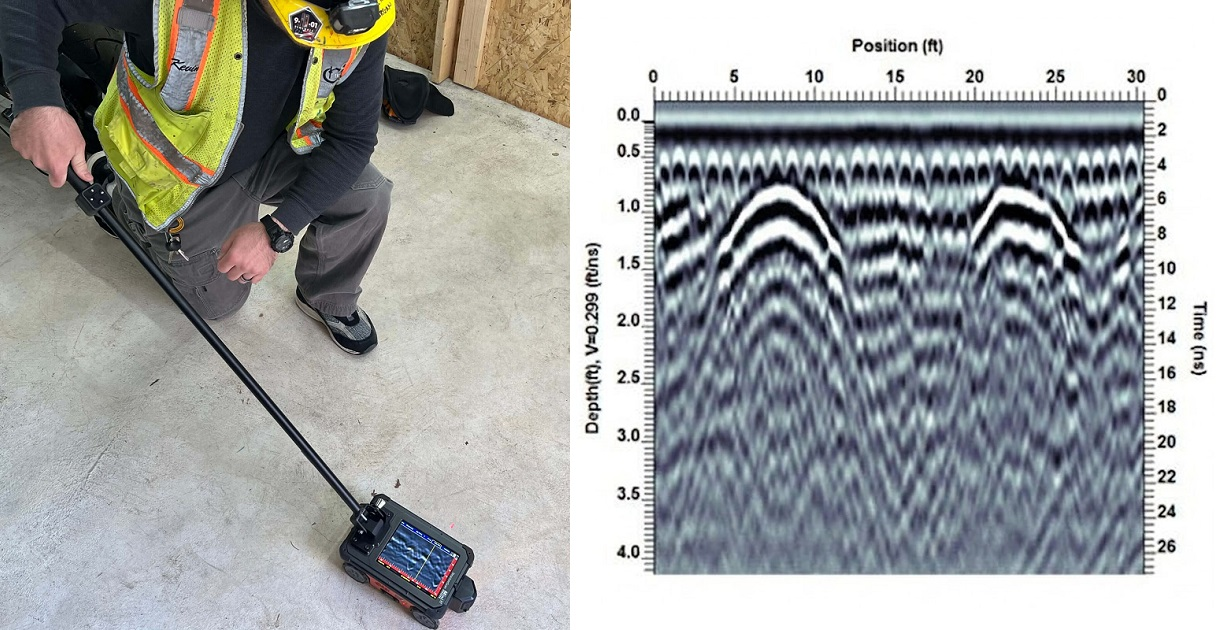
GPR: our go-to method
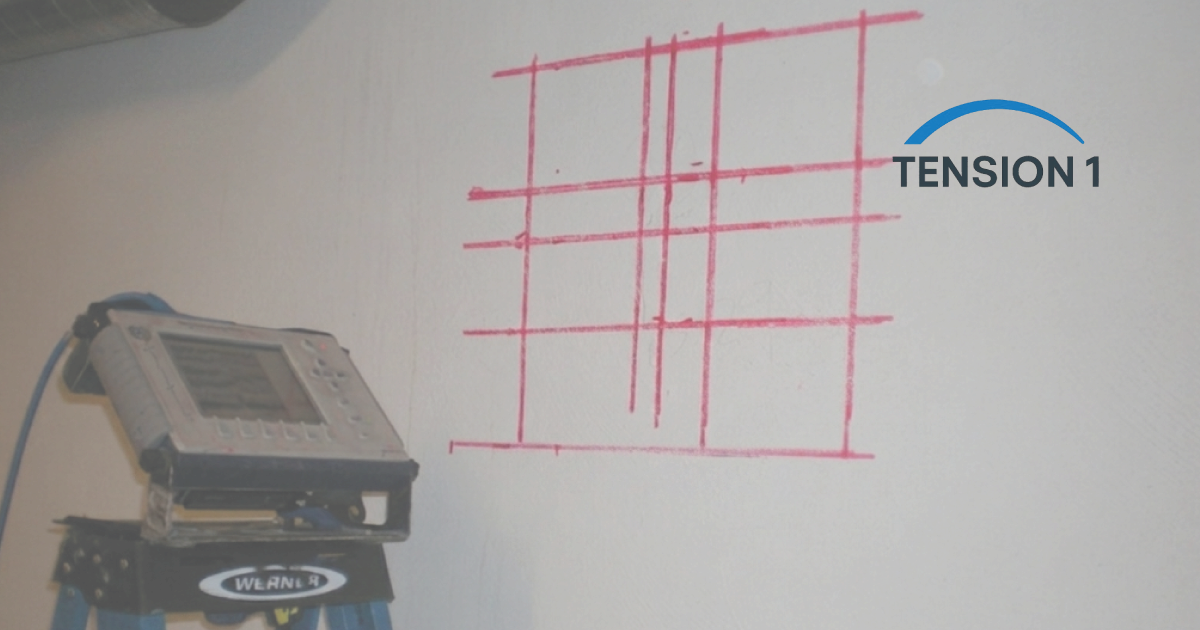
On a residential slab repair in Dallas, after a post-tension cable snap in a kitchen floor area, the GPR operator used a 1.6 GHz antenna with a 6 in grid across an 80 ft2 work zone. The scan mapped both banded and distributed tendons to within about 1 in of their plan position, picked up a rebar mat near the top of the slab, and revealed a conduit run not shown on the as-built drawings. A cover meter cannot give that picture.
Use the edge as a cross-check
Count the anchor pockets along the edge and compare them with the tendon count and spacing on the drawings. Never open a pocket to investigate; the anchor zone is the most highly stressed concrete in a post tension slab.
Step 3: The Post Tension Slab Pre-Drilling Checklist
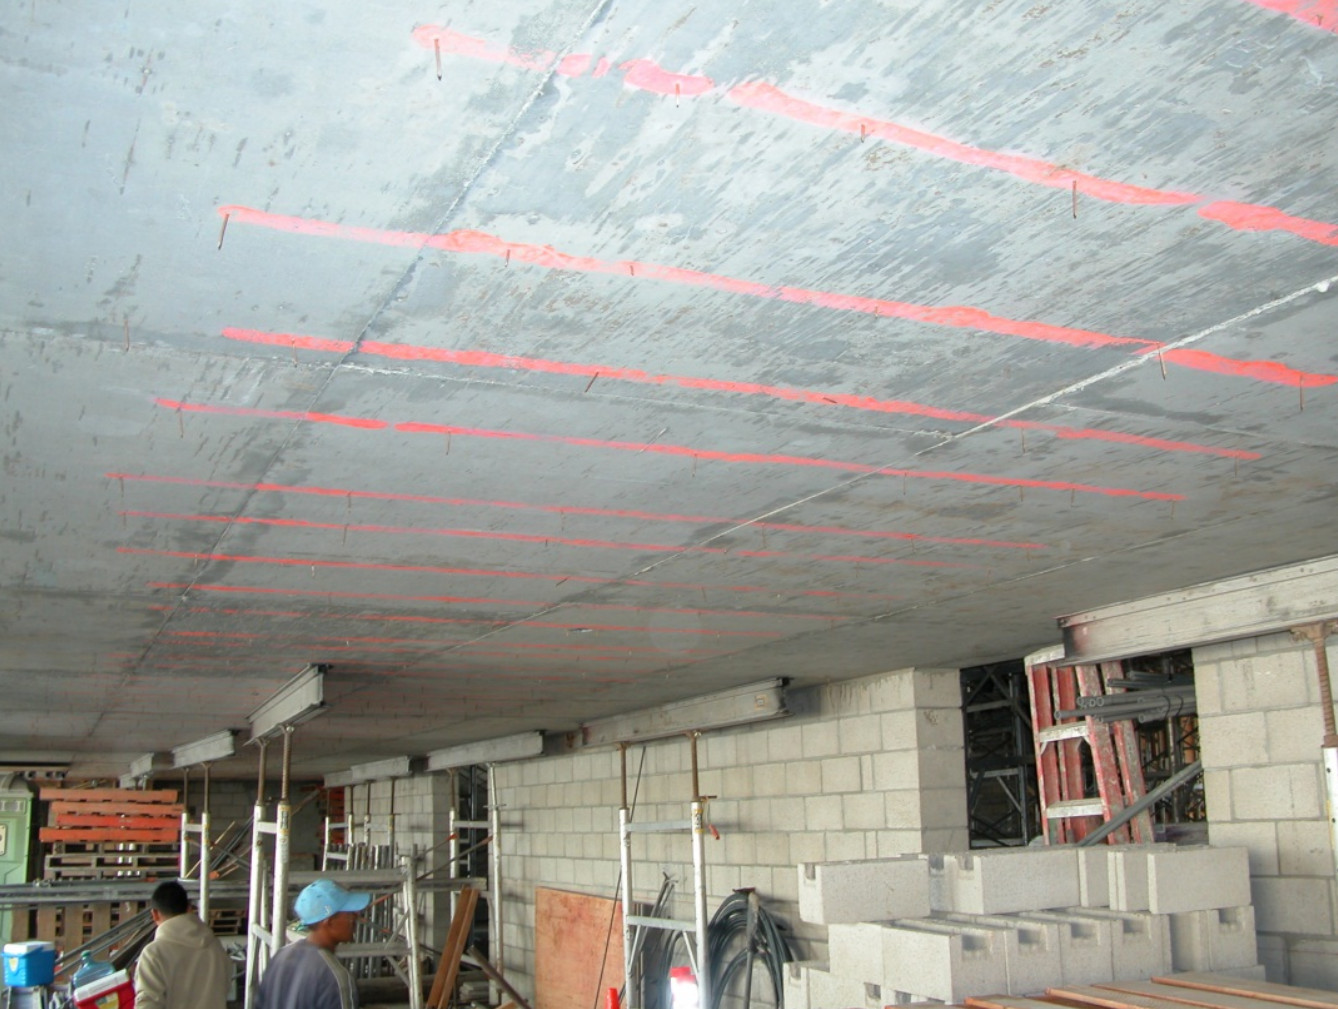
- Mark every confirmed tendon centerline on the surface with chalk or paint, with a 3 in exclusion zone on each side.
- Keep clear of column lines and anchor zones. Stay outside the exclusion zones and 12 in from column centerlines unless the scan clears it. STRUCTURE recommends keeping penetrations away from anchors, about 24 to 36 in from the anchor face.
- Check depth, not just position: confirm the core depth will not reach the tendon elevation at that point.
- Prefer shallow fastening where it works. The same STRUCTURE article suggests shot pins instead of drilled anchors where feasible.
- Brief the operator on every exclusion zone, with markings visible from the operating position.
- Stop at any unexpected resistance and treat it as tendon contact until proven otherwise.
- Record every hole on a marked plan for future repair assessments.
Never cut or core a post tension slab based on visual judgment or on experience with conventional concrete. There is no safe way to feel your way around a stressed tendon. For larger openings, the Post-Tensioning Institute publishes PTI DC80.2, a guide for creating openings and penetrations in existing slabs with unbonded post-tensioning.
What It Costs When the Protocol Is Skipped
Post-tension cable snap repairs in the Dallas area show a recurring pattern: often the owner did not know the slab was post-tensioned, and a contractor drilled or cut for plumbing or electrical work without a pre-drill protocol.
The bill for a damaged post tension slab grows with each layer: locating and exposing the damaged tendon, replacing or splicing and re-stressing it, repairing cracks, an engineering review of the slab's remaining capacity, and the schedule and tenant disruption around all of it. A scan is a small line item next to any of those. The most common mistakes behind these repairs are covered in 5 crucial mistakes when cutting into a post-tension slab.
What Worked on Site and What to Watch
What worked on site
- Spray-painting tendon lines at 12 in intervals before the GPR crew left gave the drill crew a reference that survived traffic and dust.
- Scanning in two perpendicular directions caught a tendon deviation that a single pass had missed on a pour with field routing adjustments.
- Reviewing the PT shop drawings alongside the GPR output resolved a 4 in discrepancy between as-built and design positions in the distributed tendons.
What to watch
- Rebar apps and stud finders: they cannot tell a tendon from rebar and give no depth.
- Perfect-grid assumptions: with irregular columns, tendons routed around MEP penetrations and re-entrant corners routinely leave the grid shown on the drawings.
- "Just this one small hole": the one time the protocol is skipped is consistently the time the tendon is hit.
Before You Drill: Next Steps
The stressing side of the same tendons is covered in post-tension slab stressing safety protocols and the full field workflow in our contractor's checklist for stressing and grouting procedures. Anchor zones, which every penetration should avoid, are explained in how anchorage placement affects load distribution, and slab geometry in the maximum recommended span for a residential post-tension slab.
This checklist does not replace an on-site scan or the approval of a licensed engineer, and the project documents take precedence. Our sourcing rules are in our editorial policy. If you have a scan report or a repair quote and want a second opinion before work starts, a technical consultation on penetrations in a post-tensioned slab reviews it with you.