Every post tension slab we review that has developed premature cracking, excessive deflection or tendon corrosion has one thing in common: a breakdown somewhere in the stressing or grouting sequence. The PT system itself is rarely the problem. Unbonded monostrand and grouted bonded systems are robust when installed correctly.
The gap is execution: the distance between what the drawings specify and what happens on the deck the morning the stressing crew arrives. That gap shows up later as a repair contract, a re-stressing operation, or a dispute over who signed off on an elongation report nobody checked.
We built this checklist from experience coordinating post-tensioning operations on residential foundations, podium decks and commercial slabs across Texas and beyond. It gives general contractors, drafters and technicians a step-by-step field reference, tied to the code provisions and PTI documents that actually govern each step.
In this checklist:
- What goes wrong when stressing is rushed
- Pre-stressing checks: strength, layout, materials, equipment, inspection
- Stressing procedure in five steps
- Finishing unbonded anchorages
- Grouting bonded tendons
- Documentation and final walkthrough
- The documents that govern the work
What Goes Wrong When Post Tension Slab Stressing Is Rushed
Most post-tensioning problems do not announce themselves at the time of stressing. They appear six to eighteen months after occupancy, when loading or exposure meets a post tension slab whose tendons were never properly stressed or protected.
After reviewing as-built PT slabs across the Dallas-Fort Worth area, these failure modes account for the overwhelming majority of post-installation problems:
- Under-stressed tendons: measured elongation falls short of the calculated value and nobody documents it. The tendon delivers less precompression than designed, with less crack control and more deflection.
- Elongations measured wrong: marks taken from the wrong reference, or seating effects ignored on short tendons, produce a report that looks compliant and is not.
- Grout voids in bonded systems: incomplete grouting leaves strand exposed to moisture and chlorides inside the duct.
- Stressing before the concrete is ready: jacking into concrete below the specified transfer strength can crush the concrete behind the anchor plate.
These are the mechanisms we have traced in field investigations. They turn stressing and grouting from a routine trade activity into a critical-path structural operation.
Post Tension Slab Pre-Stressing Checklist
Concrete strength at stressing
Before stressing any post tension slab, confirm that in-place strength meets the transfer strength in the project specification, using field-cured cylinders broken by a certified laboratory. Do not rely on age. A slab poured in a Texas heat wave gains strength differently from one poured in January, and lab-cured cylinders flatter both.
The value is project-specific. A Portland Cement Association design article (2005) notes that most designs use a minimum of 3,000 psi at stressing, tied to the bearing strength of a typical anchor. Get the break results in writing before the crew mobilizes.
Tendon layout and materials
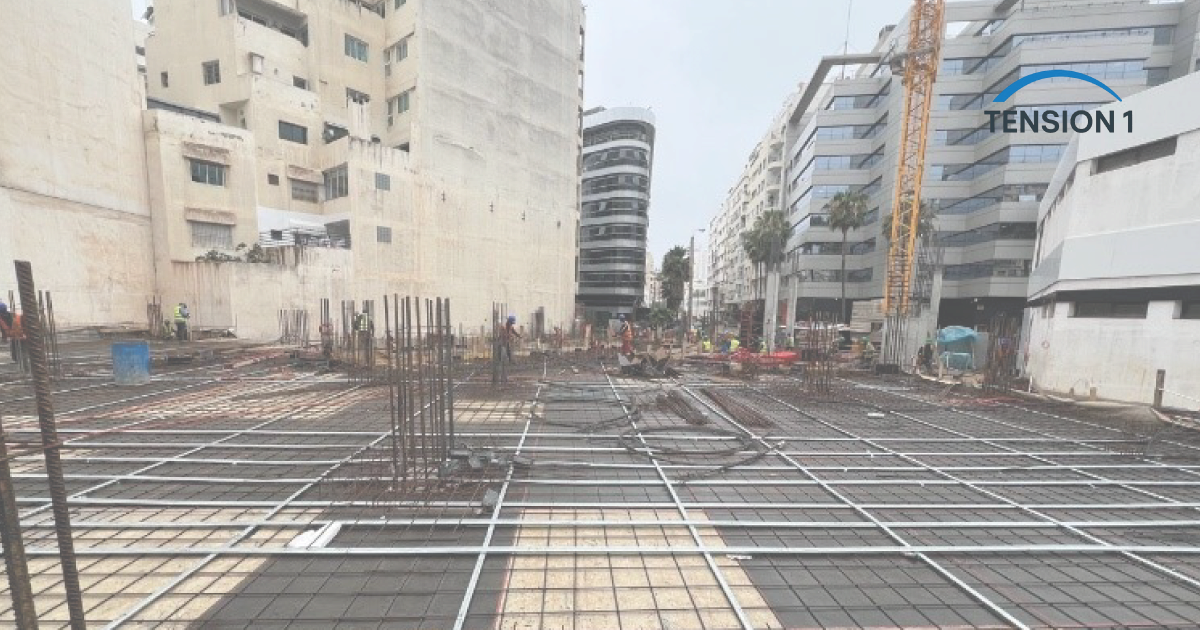
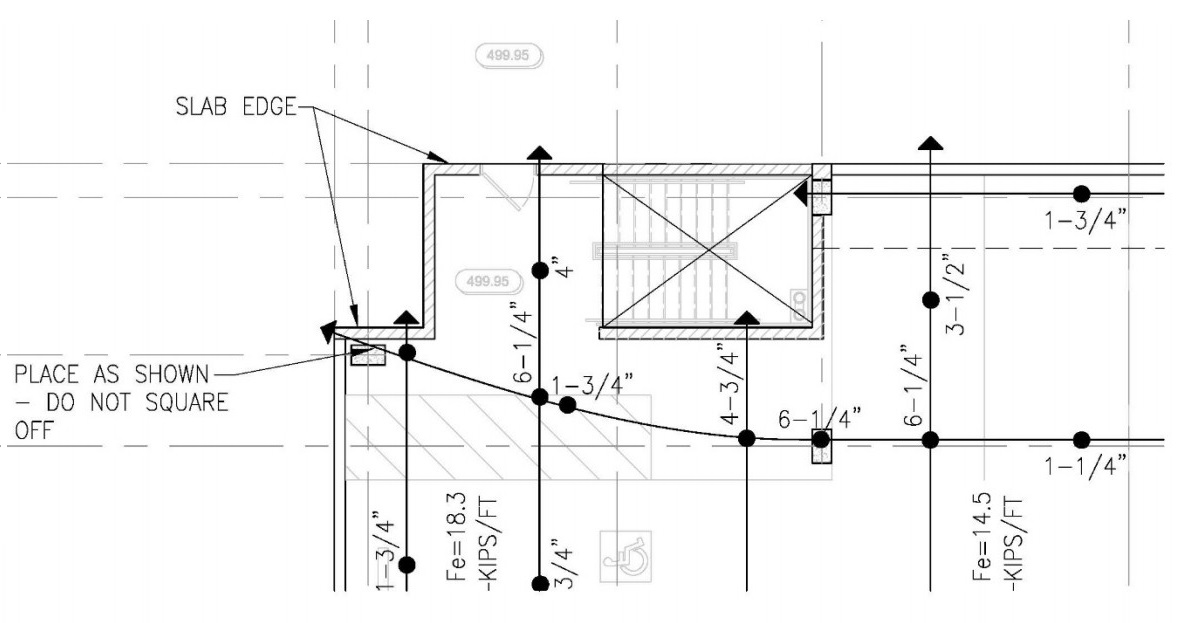
Walk the post tension slab before the pour and check every tendon against the PT shop drawings.
| Item | What to check | Reference |
|---|---|---|
| Tendon spacing | Banded and distributed spacing, center to center | Shop drawings |
| Profile heights | Chair heights at supports and midspan | Shop drawings, ACI 117 tolerances |
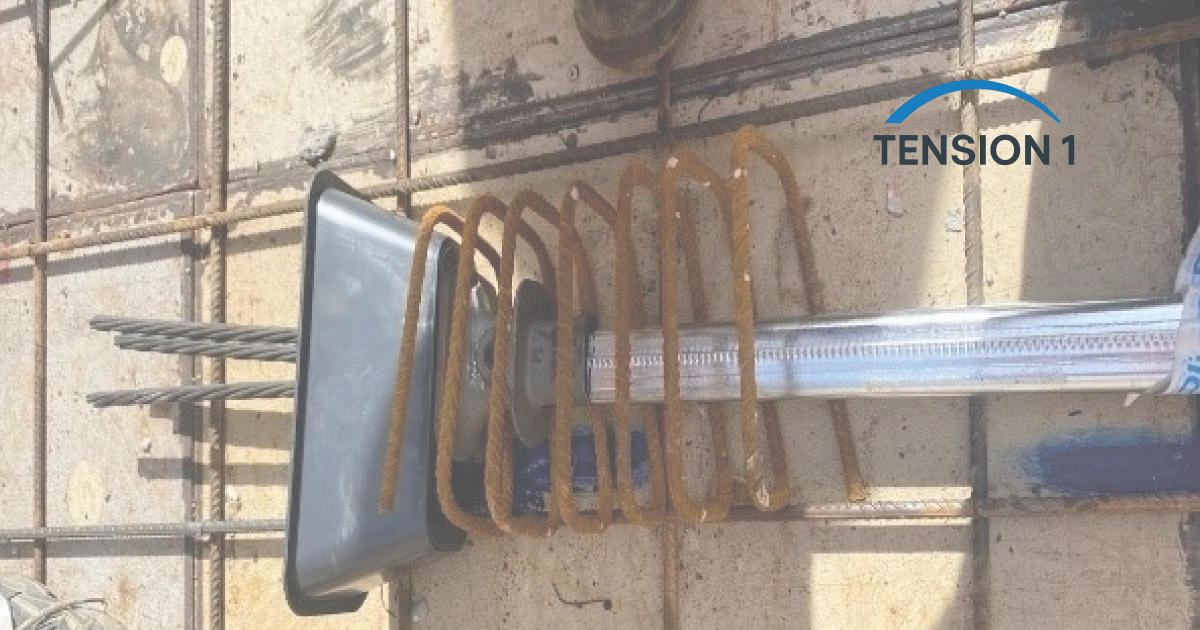
| Live-end pockets | Accessible, not blocked by edge forms, correct orientation | Shop drawings |
| Dead-end anchors | Fully embedded, encapsulation intact | PTI M10.2, ACI 423.7 |
| Sheathing | No tears, punctures or exposed strand | Zero defects; repair per specification |
Strand for monostrand work is typically 0.5 in, Grade 270 low-relaxation strand per ASTM A416/A416M-26. Get the mill certifications on file from the PT supplier before concrete placement, not after.
Stressing equipment calibration
The jack and gauge must have a current calibration certificate. STRUCTURE magazine's best practices for PT elongation records (2025) notes that PTI expects suppliers to calibrate between projects and within six months. Recalibrate any jack that has been repaired or dropped.
We have observed a stressing operation where the gauge indicated a 15 percent higher reading, so every tendon on the floor was under-stressed by that margin. No one caught it because no one asked for the calibration report.
- Calibration certificate on file, with date and calibrating laboratory
- Gauge pressure for the design jacking force, taken from the calibration chart, not estimated
- Bleed valve working, seals not leaking
- Correct nose piece for the anchor system
Special inspection
Under the International Building Code, Table 1705.3 calls for continuous special inspection during the application of prestressing forces and the grouting of bonded tendons, referencing ACI 318 Section 26.10.2 and related provisions. Confirm the inspector is booked for stressing day, not after it.
Post Tension Slab Stressing Procedure: Five Steps
Step 1: Confirm the stressing sequence
The engineer of record or the PT supplier's engineer specifies the stressing sequence. It controls how precompression builds up in the post tension slab and how the slab is restrained while it does. Departing from it without engineering approval can introduce load imbalances and cracking.
Step 2: Mark the strand
Before applying pressure, mark each strand against a straight edge at the live end, as described in the STRUCTURE article. The same mark, measured again after stressing, gives the elongation. A careless mark is a careless report.
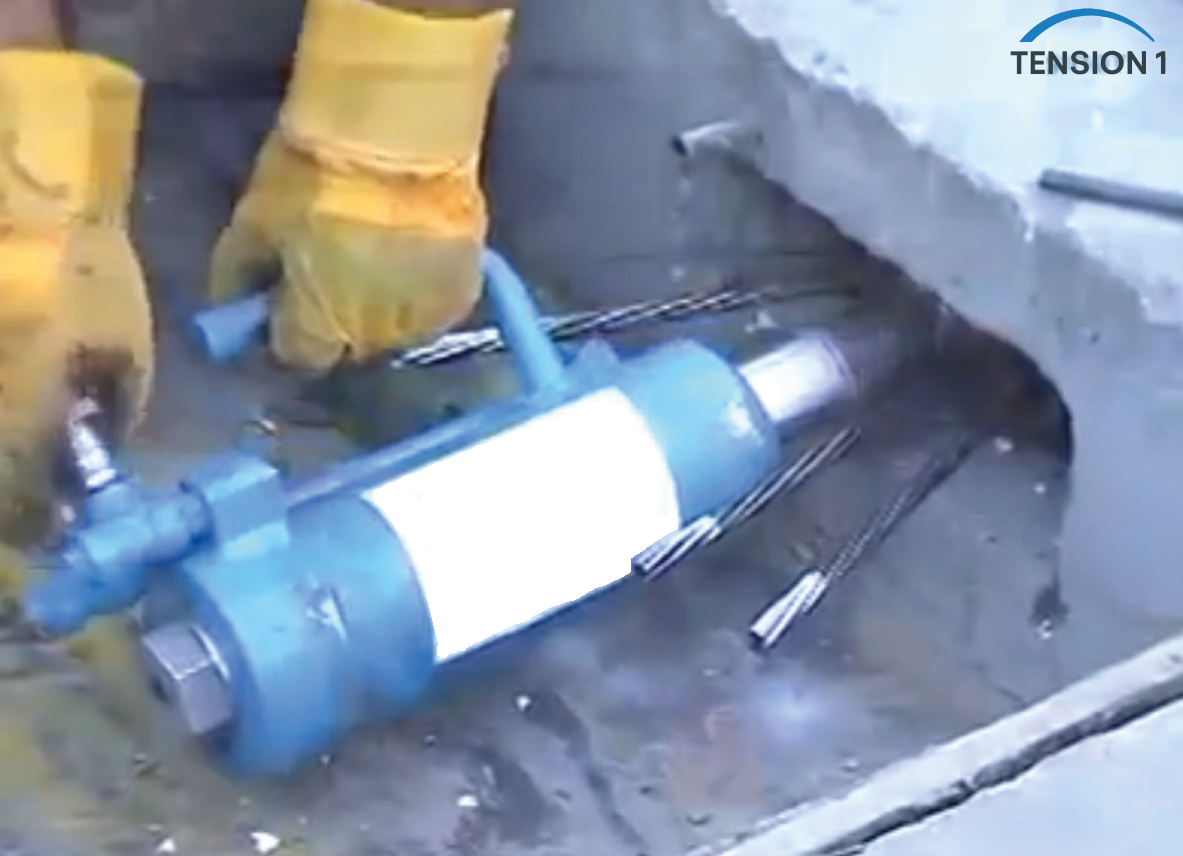
Step 3: Apply load and watch the strand
Bring the jack to the calibrated pressure and watch the strand move. Pressure rising without matching movement usually means a kink in the profile, a shifted chair or a strand not seated in the wedges. Do not keep stressing through a stuck tendon in a post tension slab. Investigate first.
Step 4: Measure and compare elongation
After lock-off, measure how far the mark moved and compare it with the calculated elongation for that tendon. On short strands, the STRUCTURE article recommends adding about 1/4 in to the theoretical value to account for wedge seating.
ACI 318-19 Section 26.10.2 requires the force to be verified both by elongation and by the calibrated gauge, and the cause of any difference above 7 percent in post-tensioned construction to be found and corrected, unless the licensed design professional approves it. Flag every tendon outside that range for the engineer of record before any tail is cut.
Step 5: Release for finishing
Only accepted tendons move on to tail cutting and pocket finishing. A tail cut before the report is reviewed cannot be re-gripped.
[tool:tendon-elongation-checker]
Finishing Unbonded Anchorages
The live end is the most exposed point of an unbonded tendon in a post tension slab. PTI Technical Note 18 (2014) states that all unbonded single-strand tendons in ACI 318 structures must be encapsulated, regardless of exposure, and defines finishing as three steps: cut the tail, install the encapsulation cap, and fill the pocket with nonmetallic, nonshrink grout.
- Cut tails by a method the specification permits, to the length it sets
- Install the cap on every anchor, the same day where the specification requires it
- Fill pockets with the specified nonshrink grout, not general patch mortar
- Photograph pockets before patching for the record
Pockets left open over weeks of rain are where corrosion starts. Anchor placement and its effect on the slab are covered in how anchorage placement affects load distribution in a post tension slab.
Grouting a Bonded Post Tension Slab
In bonded post-tensioning, strand runs in a metal or plastic duct that is grouted after stressing. It is less common in Texas residential work but widely used in parking structures, bridges and transfer slabs. A tendon that is properly stressed but poorly grouted will corrode.
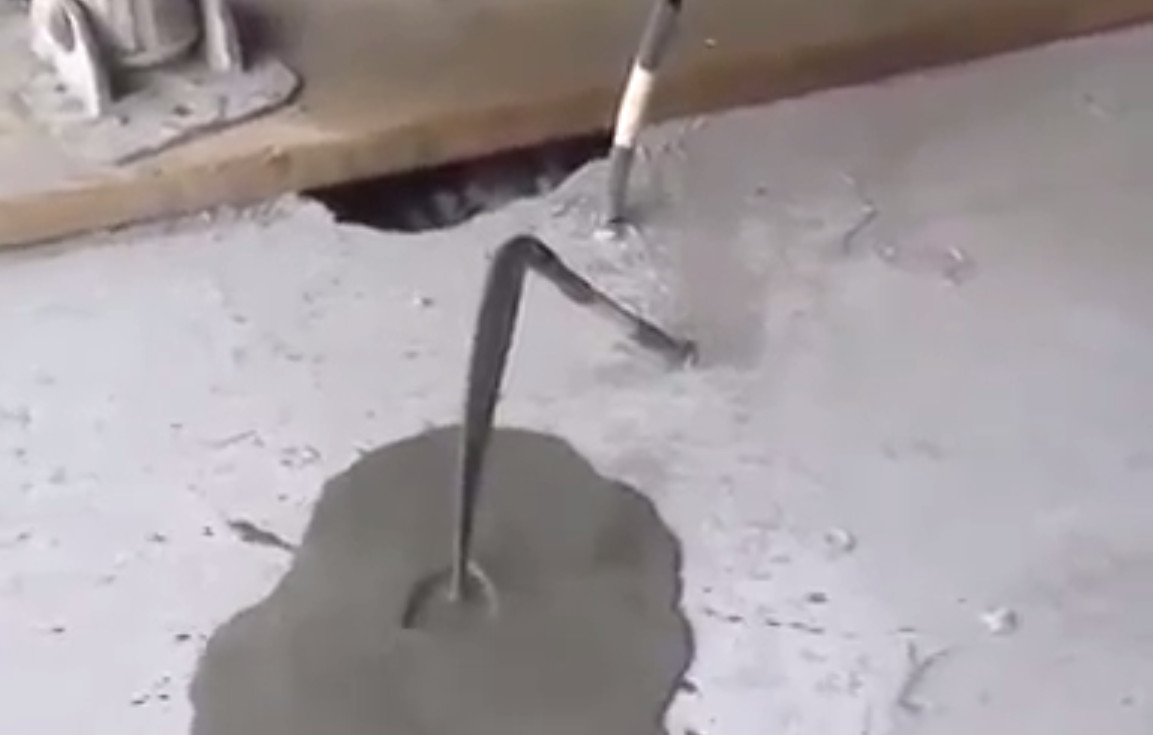
PTI M55.1-19, Specification for Grouting of Post-Tensioned Structures, sets the framework: a maximum water-cementitious ratio of 0.45, injection from the lowest point uphill, an air test before grouting, and no filling of ducts with water.
What worked on site
- A continuous pump with a gauge at the inlet: the only reliable way to confirm grout is being driven through the duct rather than filling a void near the inlet. We specify a minimum outlet pressure of 10 psi maintained for at least 1 minute at each vent before closure.
- Grouting from low to high: injecting at the low point and venting at the high points of the drape keeps air out of the peaks.
- Pre-wetting HDPE ducts: on bonded systems with plastic duct, we dampened the duct interior with clean water immediately before grouting to reduce bleed-water absorption. PTI M55.1-19 states that ducts should not be filled with water, so follow the project grouting specification on this point.
What to watch
- Batching by volume instead of weight: grout mixed too wet bleeds and leaves voids; too dry blocks the pump. We now require the water-cementitious ratio to be tracked by weight on every batch.
- Closing vents too early: on a parking structure project, a crew closed the high-point vents the moment grout appeared at the outlet. Coring later revealed voids up to 14 in long at the peak of the drape. Keep vents open until consistent, lump-free grout flows without interruption.
Post Tension Slab Documentation and the Final Walkthrough
The documentation package
Every post tension slab stressing and grouting operation should produce a traceable package. It is your first defense in any dispute about slab performance.
- Cylinder breaks confirming transfer strength
- Current jack and gauge calibration certificate
- Elongation log for every tendon: ID, calculated value, measured value, deviation in percent
- Tendons flagged for review and the engineer of record's disposition
- Grout batch records: mix, w/cm by weight, times, injection log per duct
- Photographs of anchor pockets before patching
Walkthrough before loading
- All live-end pockets on the post tension slab capped, grouted and flush
- No strand tails protruding beyond the patch
- No grout leakage at unintended locations, a sign of duct damage
- No wet marks or grout bleed-through on the soffit
Photograph, log and send any anomaly to the engineer of record before the floor is loaded. Crew-level safety for the same operation is covered in post-tension slab stressing safety protocols.
After Stressing: Protecting the Tendons for the Life of the Slab
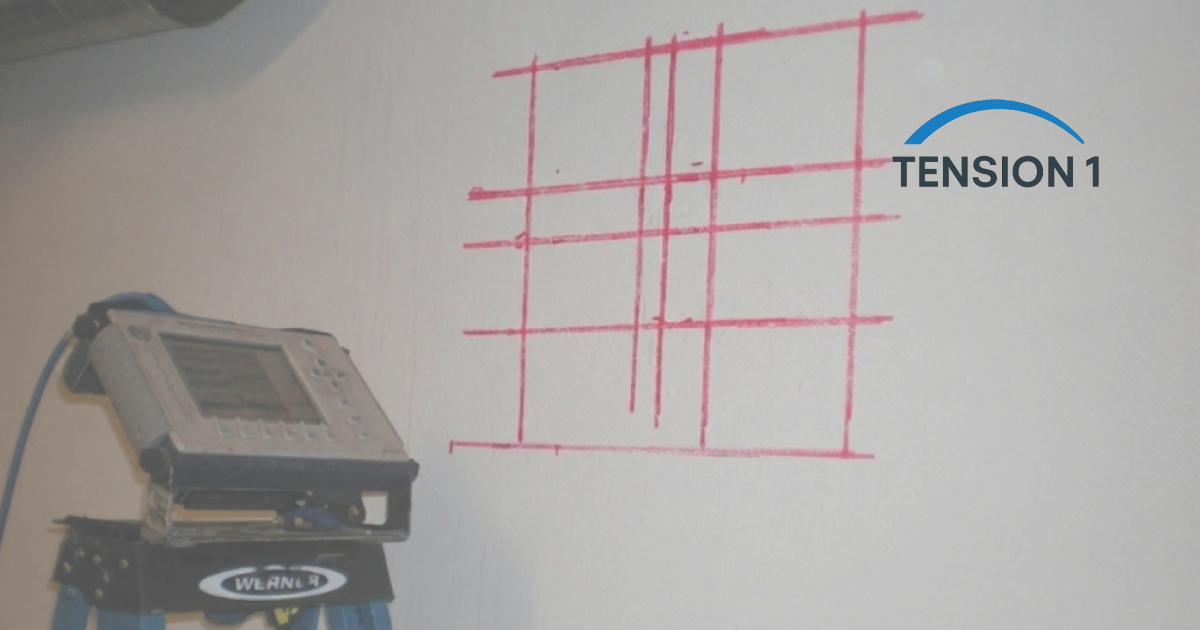
Once stressed, a post tension slab cannot be cut or cored blind. Every later penetration starts with locating the tendons, as set out in our checklist to locate and avoid post-tension cables before drilling, and the errors we see most often are in 5 crucial mistakes when cutting into a post-tension slab. For houses, span limits are covered in the maximum recommended span for a residential post-tension slab.
Long-term protection, inspection and corrosion are the subject of our guide to post tension slab tendon corrosion, inspection and preservation.
The Documents That Govern Post Tension Slab Stressing and Grouting
- ACI 318-19: Section 26.10 for prestressing construction and the 7 percent elongation check. ACI CODE-318-25 is now published; use the edition your jurisdiction has adopted.
- IBC Table 1705.3: continuous special inspection of stressing and grouting.
- PTI M10.2 and ACI 423.7: unbonded single-strand tendon materials and encapsulation.
- PTI M55.1-19: grouting of bonded tendons.
- PTI DC10.2-17: construction and maintenance of PT slabs on ground.
- ASTM A416/A416M-26: low-relaxation seven-wire strand.
PTI documents are available from the Post-Tensioning Institute. The governing code edition and project documents take precedence over this checklist, and sealing and approval belong to the licensed engineer of record. How we source and correct technical content is set out in our editorial policy.
Need an Elongation Report Reviewed?
When a post tension slab elongation log comes back with tendons outside 7 percent, or a grouting record raises questions, a second opinion before tails are cut or the floor is loaded is the cheapest one you will ever get. A technical consultation on stressing and grouting records reviews the calculations, the log and the likely causes with your team.
For tendon layouts, profile schedules and elongation calculations prepared as independent technical support for your engineer of record, see our post-tension slab design, optimization and diagnostics services.